Arduino Wireless Car Project
Code Based on This Movie: arduino-remote-controlled-car-code
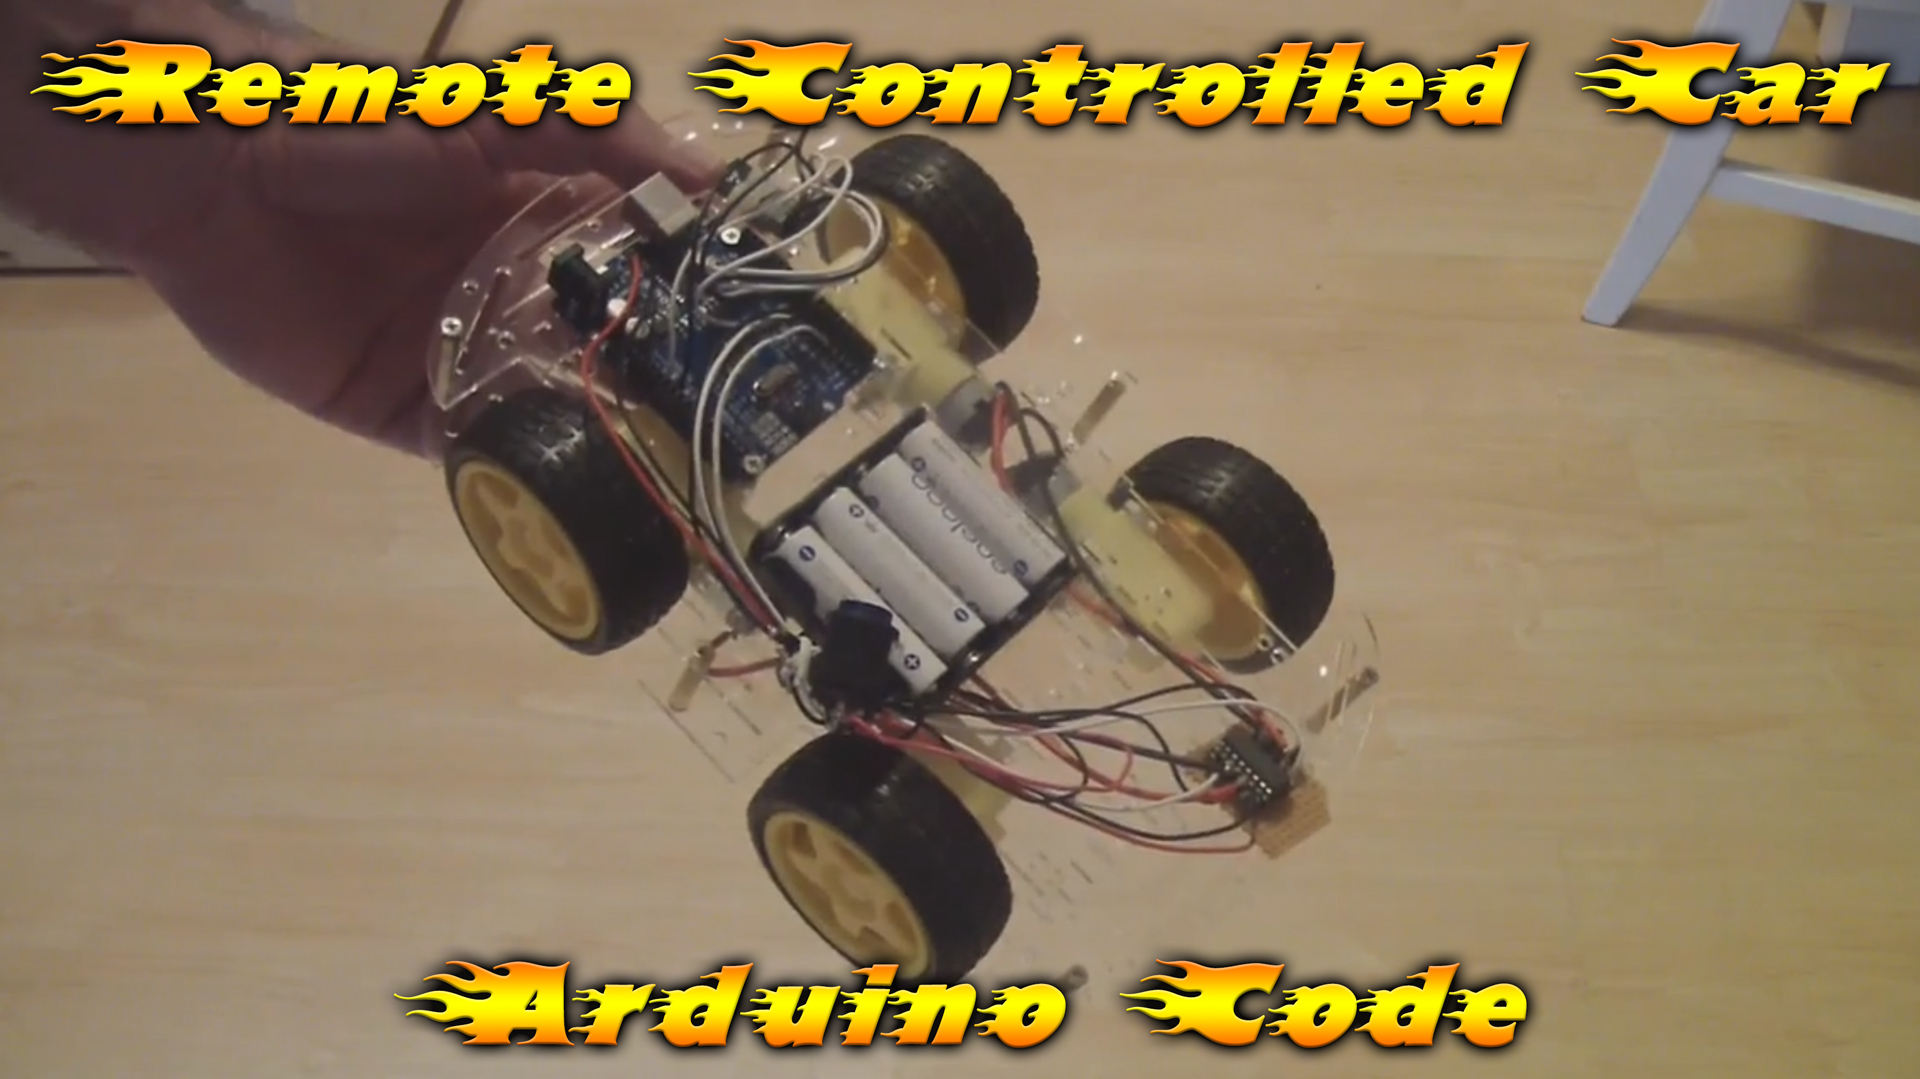
So how this is working?
Basically what I did is took the chassis with 4 Motors.
Now in order to control the car with minimum complexity I have decided to connect each 2 motors together!
So Basically instead of controlling 4 motors – 2 are connected in parallel so I control only 2 motors.
So in each side of CAR (right and left) – the 2 Lefts are connected together and the 2 rights are connected together.
So I am using only 1 dual H-Bridge chip.
In the H-Bridge I have 4 wires for each H-Bridge (of the dual) – so total 8 lines.
So now in order to move forward – Right Motors and Left Motors get same polarity (but remember to check how to connect the motors between them – so in each direction need to check that if giving voltage both are spinning to same side)
So Forward – give Right and Left same voltage
Backward – Give Right and Left same voltage but opposite to Forward
Rotate – Right and Left get opposite voltage between them
About transceiver I have taken some example from Net and modified it to my needs
About Touch buttons – I just use Analog Input of Nano
Arduino Nano Ebay Link Arduino Nano
Arduino Uno Ebay link Arduino Uno
Arduino Mega2560 Ebay link Arduino Mega 2560
Arduino Pro-mini ebay link Arduino Pro Mini
Parts for this Project are
[adsenseyu1]

