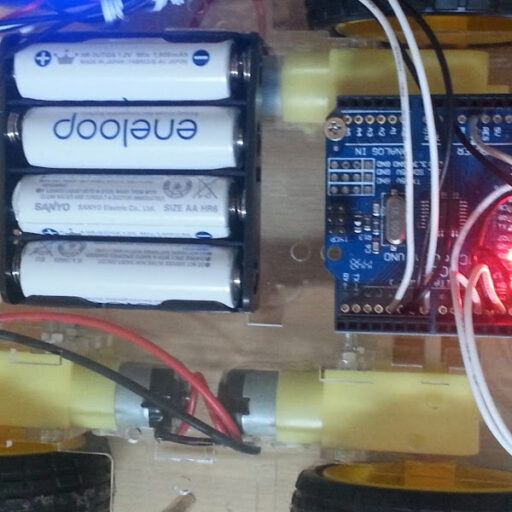
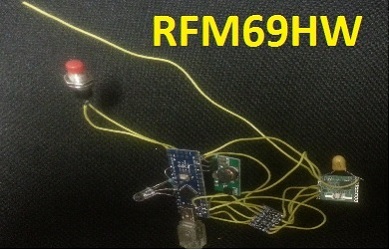
Arduino Nano with RFM69HW Transceiver module
This shows how to connect Arduino nano with RFM69HW module.
The documentation is not complete, so in order to complete this project you have to take care of the following:
1. RFM69HW need antenna – so connect wire according to your frequency of board (in case of 433Mhz = 17 cm wire)
2. This module SPI signals and board is 3.3V, so use shifting level (preferred resistors only!)
3. In Transmit mode the power is high, so you should use 3.3V 500mA power supply, the Nano power is not good enough)
4. Connect on 3.3V Tantalum capacitor of 100uF (to ensure power when transmitting)
5. connect module DIO0 to Arduino D2 (this is the interrupt in that you should use in RXTXBlinky program)
SPI PINS Connections:
NANO –> RFM69HW
D10 —–> NSS
D11 —–> MOSI
D12 —–> MISO
D13 —–> SCK
GND —–> GND
3.3V —> connect external 3.3V
Links Amazon:
Buy on Amazon Arduino Mega: Amazon Mega
Buy on Amazon Arduino Uno: Amazon Uno
Buy on Amazon Arduino Nano: Amazon Nano
Buy on Amazon Arduino 33 IOT: Amazon 33 IOT
Buy on Amazon Arduino Nano ESP32: Amazon Nano Esp32
Links Aliexpress:
Buy on Aliexpress Arduino Mega: Aliexpress Mega
Buy on Aliexpress Arduino Uno: Aliexpress Uno
Buy on Aliexpress Arduino Nano: Aliexpress Nano
Buy on Aliexpress Arduino 33 IOT: Aliexpress 33 IOT
Buy on Aliexpress Arduino Nano ESP32: Aliexpress Nano esp32
Links Ebay:
Buy on Ebay Arduino Mega: Ebay Mega
Buy on Ebay Arduino Uno: Ebay Uno
Buy on Ebay Arduino Nano: Ebay Nano
Buy on Ebay Arduino 33 IOT: Ebay 33 IOT
Buy on Ebay Arduino Nano ESP32: Ebay Nano esp32